Aluminum bronze alloys have been developed to face sea water corrosion issues and are used in heat exchangers with either castings or forgings. The quality of each component is controlled by international standards, most of the time along with customer 3rd party inspectors. An example on forged split rings will highlight those different tests and how they helped Inoxyda identify a forging process problem.
By Sebastien Delamare and Ayoub Malouadjmi of INOXYDA
Chemical analysis
Quality begins when the alloy is melted and undergoes the fi rst control: a chemical analysis on a sample to check that the concentration of each alloy (copper, nickel, aluminum) are those expected. This is done by Optic Emission Spectrometry. At the same time the part is casted, sample ingots are also casted; the part will undergo non-destructive testing while ingots will be used for destructive testing.
Mechanical test
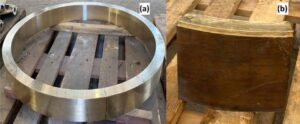
The mechanical test covers three different properties: tensile strain, hardness, and resilience.
Inoxyda has carried out various studies on the limits of the Brinell test by varying the range of force applied, the rate of penetration of the ball, and the temperature at which the test is carried out. It has revealed that it gives reliable results.
The sample ingots are machined into standard test bars. One is used for making a tensile test, and the second is used for a Charpy test. The tensile test specimen reveals mechanical characteristics such as tensile strength, elon-gation, elasticity and plastic properties
Resilience is characterized by the Charpy test where a weight is dropped from a given height to break the sam-ple. Depending on the height it will reach, after breaking the sample, the resilience will be determined.
Micrography
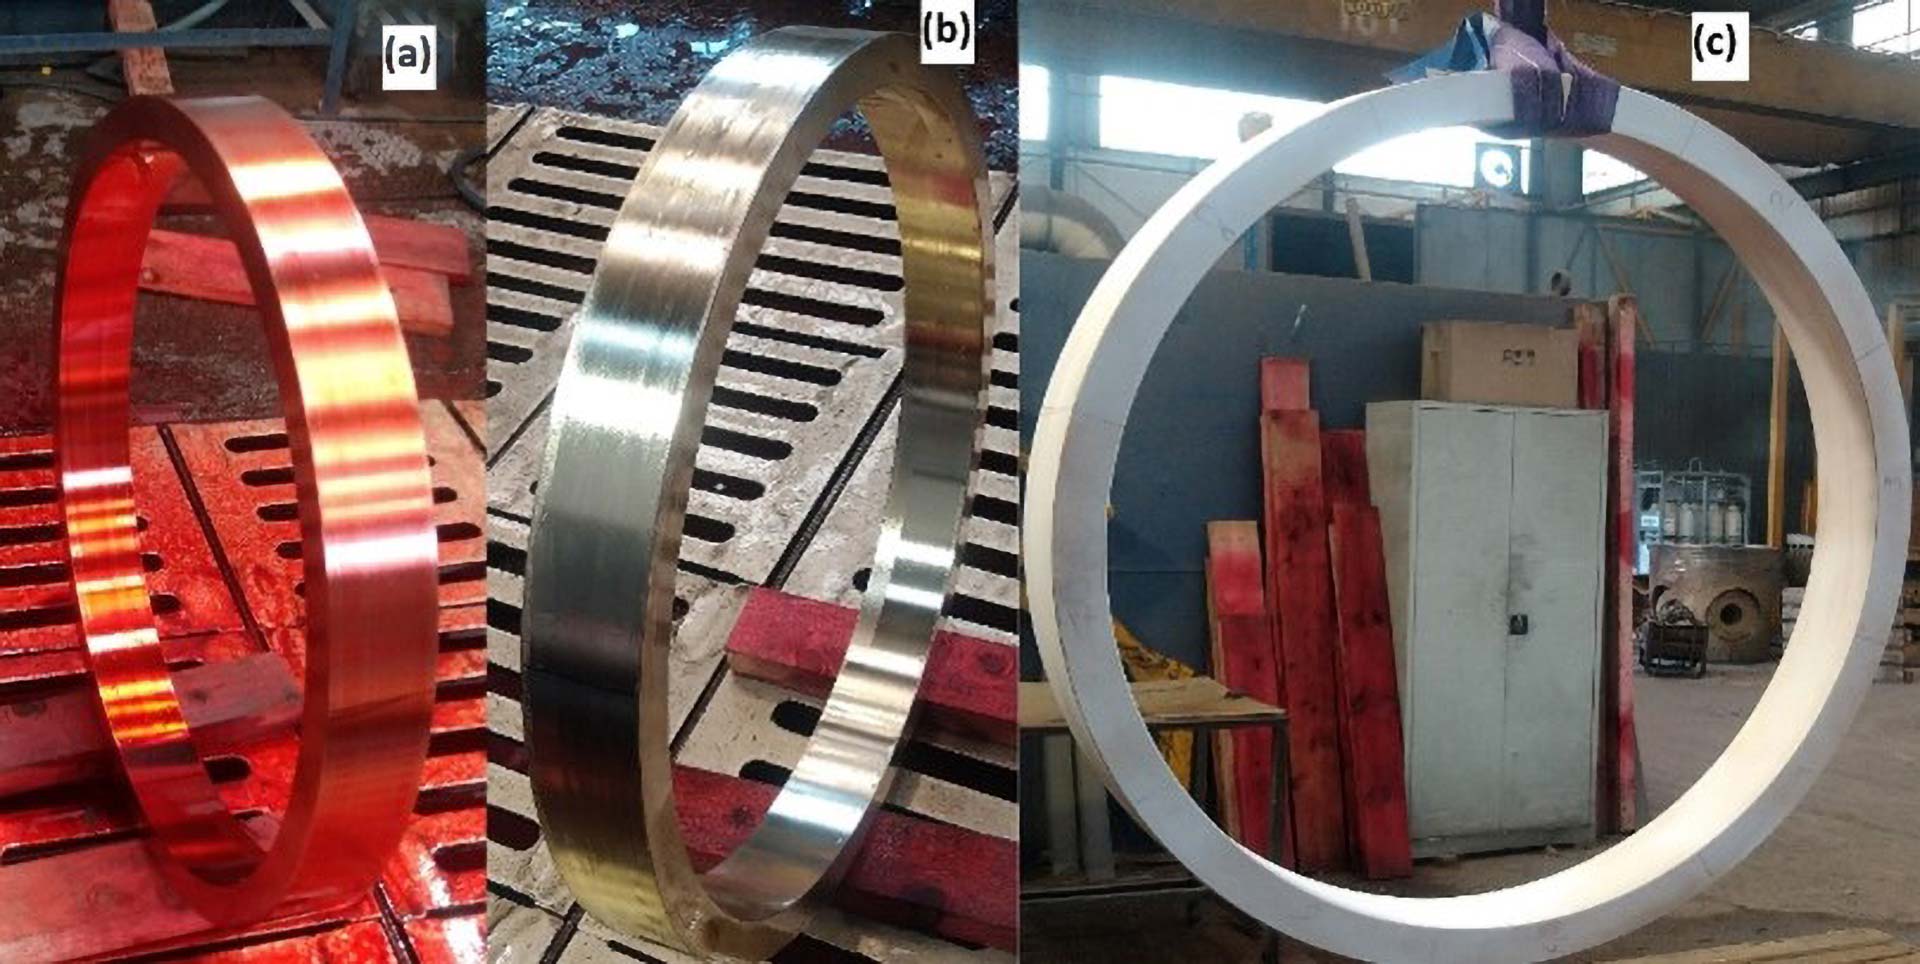
Micrographies are used to control the distribution of the grain size, the homogeneity of the material, as well as the porosity. Deeper analysis can also lead to checking the different phases in the material. At Inoxyda those tests are regularly carried out using an optical micro-scope. The specimens are polished down to ¼ mm, then undergo a chemical attack before they can be observed under the optical microscope.
Dye penetration test
This non-destructive test will be used to get an idea on the integrity of the part. First, a colored penetrant is applied and washed away. The dye will penetrate the shrinkage crack and stay there until a developer is applied, releasing the dye by capillary action. Spots will indicate possible defects which will be interpreted according to international standards and, depending on sizes, locations and shapes of indications, parts are ac-cepted or rejected.
Ultrasonic and X-ray control
Dye penetrant test reveals only the emerging defects. To fi nd deeper fl aws in the material, either ultrasonic or x-ray test are used. The concept of ultrasonic test is to send an ultrasound signal through the material, a receiver on the opposite surface will calculate the intensity of the received signal. When an ultrasound wave encounters a defect the intensity drops, indicating a defect. It’s possi-ble to determine the size and the location of a defect with this test. Ultrasonic test has to be performed by skilled people to prepare the tools according the kind of material to control.
X-rays or radiography, similar as in hospital, show the defect as a contrast on the picture. With this method, it is possible to determine the size and position of the defects if the angles for taking x-rays are chosen wisely. But of course, the cost of these tests is not the same and it de-pends mainly of the product thicknesses.
For single surface and constant thickness, it’s in general suitable to use ultrasonic test. In short, the choice be-tween these two methods will depend on the geometry of the part and it shapes.
Hydraulic pressure test
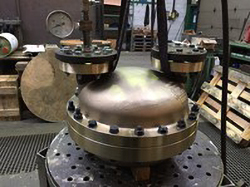
For pressure containing parts, a hydraulic pressure test is often requested to confi rm that the casting or forging is pressure tight at a given pressure level and duration. when a hydraulic pressure test is performed.
In this case, depending the using of the parts, hydraulic pres-sure test could be enough to know if the parts is ok for use. To sum up, all these tests can be done on castings or forging and can be used to qualify the material depend-ing the using purposes.
By our experience and knowledge, we are here to help the customers to choose the right control or test to per-form to characterize it parts.
Example of applications of some of these tests above during a manufacturing of forging parts.
Forging
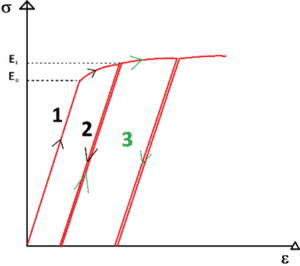

Forging consists of mechanically compressing a casted billet part after heating it. For NAB alloys, the tempera-ture is around 800-850°C. From a structural point of view, forging consists of a plastic deformation of the ma-terial (step 1) and letting it resume a shape slightly dif-ferent from the previous shape (step 2). The process is re-peated until reaching the expected dimension and shapes (step 3). This increases its elastic resistance and decreases its elongation at break. Structurally, given the heating, the microstructure is modifi ed. Atomically, forging will displace the dislocations in the material. In general forg-ing is used for special application where high quality, and high level of mechanical results are necessary.
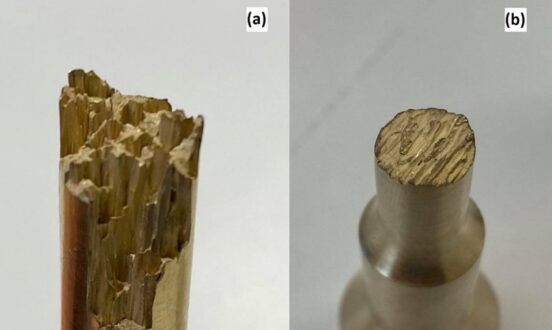
During an experiment carried out by inoxyda aiming to characterize the effects of a bad forging on the forged rings, the tensile test presented unusual results which were investigated more deeply.
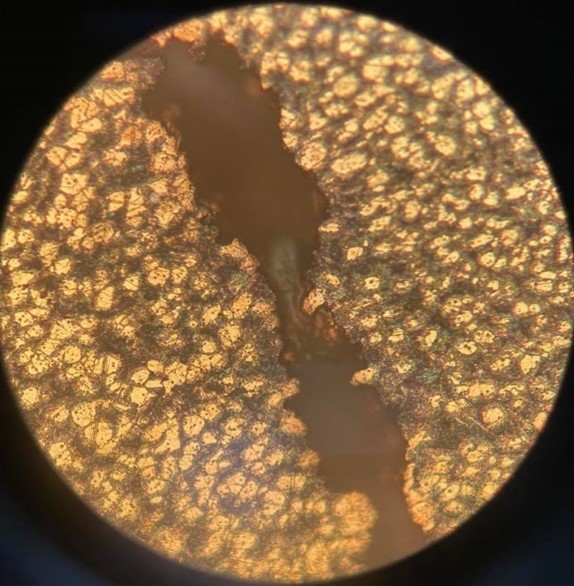
Figure 5 shows the tensile test bar after forging having a strange face crack which did not enable to determine the tensile curve. It seemed similar to those found in fibrous composite, so we decided to carry out more detailed test. Chemical test, tensile test, and micrography of the origi-nal casted billet showed normal results indicating that the problem could have originated at the forging process. The micrography of the forged component showed a new and abnormal phase with a lot of directional shrinkage crack which are also identifi ed on the tensile test bar by doing a dye penetrant test (figure 7).
Correlation between mechanical behavior and microstructure
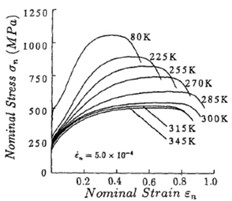
In this particular case the forging was carried out prob-ably at a wrong temperature. This range to forge is signifi cant as shows the curve below: at a given tempera-tures, materials react differently (Figure 8) which in our case led to the creation of:
■ An undesirable new phase (known as β’) which embrittle the aluminum bronze mechanically and against the sea corrosion.
■ Unidirectional inter-granular cracks.
Research for the improvement of quality control
Quality tests have proved their effi ciency in identifi ca-tion of a complex forging process problem deliberately caused by Inoxyda during its study on the precipitation of the phase β’. This phase is only created when the usual forging conditions are not respected. Although forging is a process widely used, alternatives could exist. Inoxyda has developed a wide range of specifi c aluminum bronze alloys to cover different customer property re-quirements.
Inoxyda, as a technical leader in aluminum bronze is engaged in developing further the knowledge and the controls that lead to quality. New tests will shortly be conducted with Scanning Electron Microscopy and Atom Prob Tomography to understand how a heat treatment can have an infl uence on the corrosion resistance of aluminum bronze alloy in sea water (mainly study β‘ phase which is very unknown today), but this will be the subject of a future article.
About the authors
Sebastien DELAMARE is the Chief Operating Officer at INOXYDA
https://www.inoxyda.fr/
 Ayoub MALOUADJMI is student in Master’s Degree in metallurgy at the university of Rouen Normandie (http://gpm.univ-rouen.fr/fr/formations) and doing an internship at Inoxyda to characterize the proprieties of Aluminum Bronze (microstructural and mechanical proprieties).
References:
• P. Weill-Couly, Etudes sur la désaluminisation des cupro-aluminims, SULZER p.28
• R. Guiheux, Comportement d’aciers à transformation de phase austénite-martensite pour la simulation du grenaillage de précontrainte, THES, 2016, p.
• C. Dharmendra, K.P. Rice, B.S. Amirkhiz, M. Mohammadi, Atom probe tomography study of κ-phases in additively manufactured nickel aluminum bronze in as-built and heat-treated conditions, ELSEVIER, 2021, p.17
• P. Sláma, J. Dlouhý, M. Kövér, INFLUENCE OF HEAT TREATMENT ON THE MICROSTRUCTURE
AND MECHANICAL PROPERTIES OF ALUMINIUM BRONZE, ResearchGate 2014, p.599-604
About this Featured Story
This Featured Story was first published in the September 2021 issue of Heat Echanger World Magazine. To read more Featured Stories and many other articles, subscribe to our print magazine.
Featured Stories are regularly shared with our Heat Exchanger World community. Join us and share your own Featured Story on Heat Exchanger World online and in print.
Featured Story by Sebastien Delamare and Ayoub Malouadjmi of INOXYDA


